Wiggle guide
Hip Mobility for Hikers: A 7-Minute Trail Warm-Up
Use this gentle hip mobility routine for hikers before the trail, with uphill and downhill choices, pack-fit checks, and clear stop signs.
hip mobility for hikers
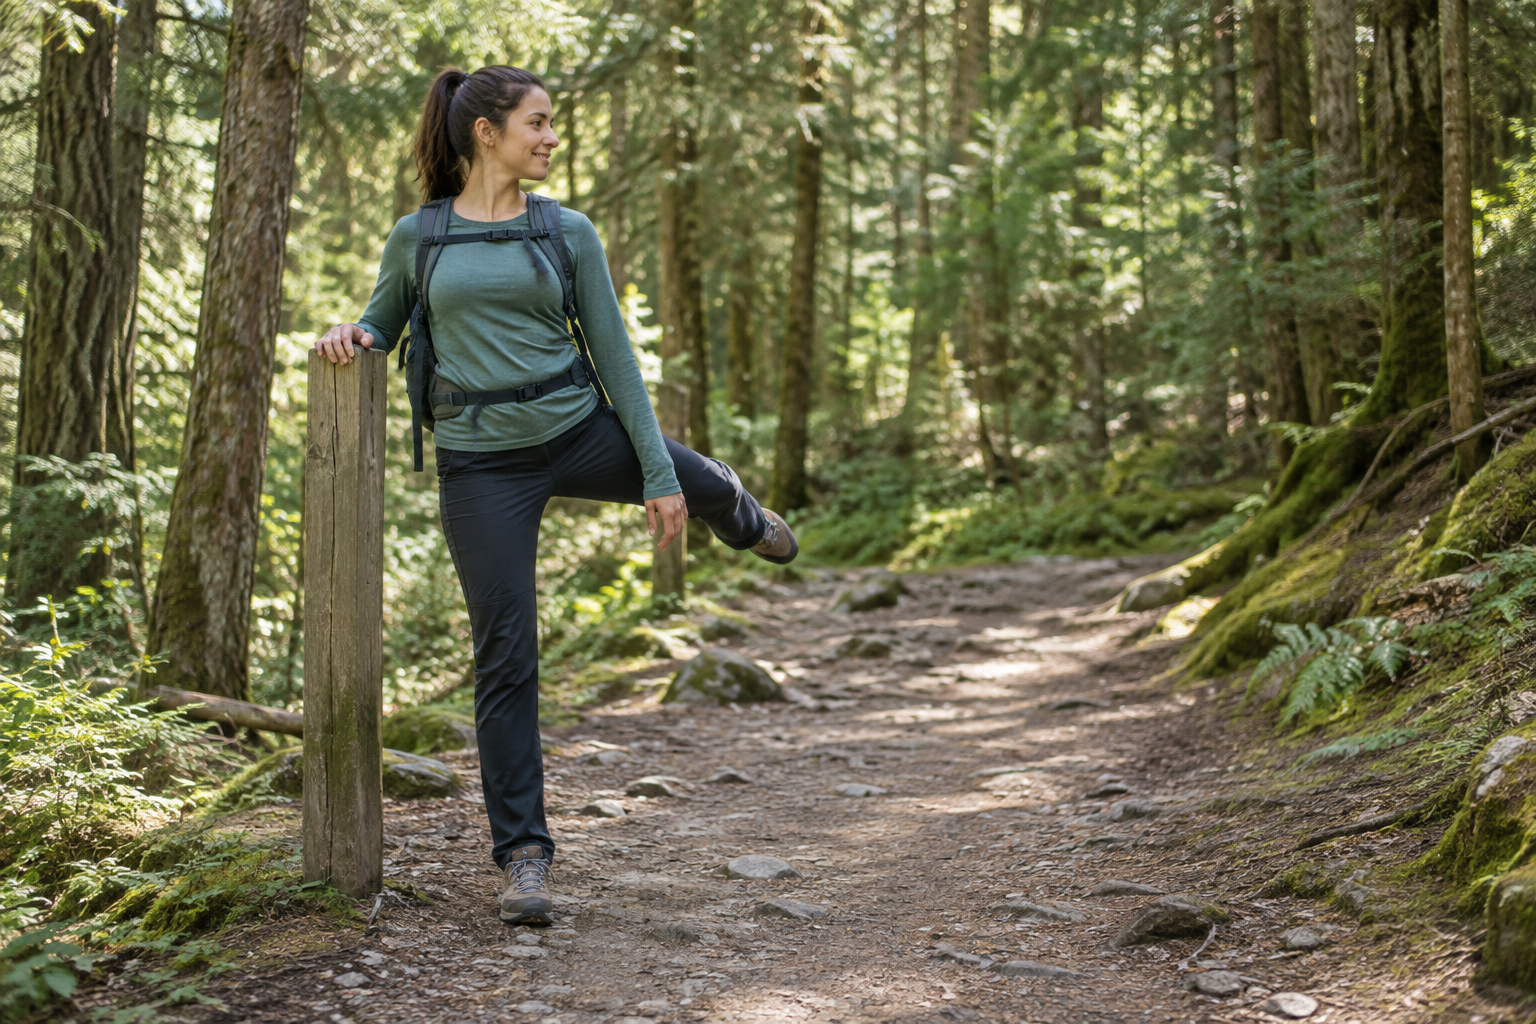
The first steep climb can make your hips feel unprepared before the hike has really begun. The tempting fix is a deep roadside stretch. A better option is a short warm-up that raises your temperature, explores comfortable hip motion, and rehearses the stepping pattern you are about to use.
Use this fast rule: move dynamically before the hike; save relaxed holds for after it. The seven-minute routine below needs only a stable rail, bench, tree, or trekking pole. If you want a broader starting point first, use the beginner hip mobility guide.
What is hip mobility for hikers?
Hip mobility for hikers is the comfortable, controlled motion used to step uphill, stabilize on one leg, clear obstacles, and lower the body during descents. Useful trail mobility combines range and control; it is not simply the ability to hold a deep stretch.
Hiking hip mobility is usable motion through hip flexion, extension, and rotation while you stay balanced over the supporting leg. It does not diagnose pain or guarantee that one routine will prevent injury.
Hiking adds three demands that flat walking may not: higher steps, longer descents, and a pack that changes your balance. Your warm-up should resemble those demands without tiring you before the trail.
Should hikers stretch before or after a hike?
Before hiking, use dynamic movements that gradually build range: walking, knee lifts, controlled circles, and shallow step-back lunges. After hiking, walk until your breathing settles, then use gentle static stretches only if they feel good. Mayo Clinic recommends warming up before stretching, moving smoothly, and avoiding pain.
| Hiking moment | Best choice | Skip for now | | --- | --- | --- | | Before a flat walk | Easy walk, knee circles, calf raises | Long, intense holds on cold muscles | | Before a steep climb | Marching, shallow lunges, low step-ups | Exhausting squat or lunge sets | | Before a long descent | Supported single-leg balance, slow step-down rehearsal | Fast bouncing stretches | | After the hike | Easy walk, gentle hip-flexor or glute hold | Forcing range while fatigued |
What is the best 7-minute hip mobility routine for hikers?
The best short hiking routine begins with walking, then adds hip rotation, a trail-specific stepping movement, and lower-leg control. Keep every repetition smooth enough that you could immediately start the hike and still feel fresh.
| Movement | Time | Trail purpose | | --- | ---: | --- | | Easy walk | 60 sec | Raises temperature gradually | | Supported knee circles | 60 sec | Explores comfortable hip rotation | | Step-back lunges | 90 sec | Rehearses hip extension and single-leg control | | Seated or standing hip rotations | 90 sec | Adds rotation without forcing a deep pose | | Supported calf raises | 60 sec | Prepares ankles and calves for uneven ground | | Walk and reassess | 60 sec | Checks whether normal steps feel easier |
From Wiggle
Recommended moves
How do you perform the hiking hip routine?
Use a stable support whenever balance distracts you from the hip movement. Work below your maximum range, keep breathing normally, and stop the set before technique becomes sloppy.
- Walk easily: Let your stride grow naturally for one minute; do not exaggerate it.
- Make supported knee circles: Hold a support, lift one knee only as high as comfortable, and draw small slow circles in both directions.
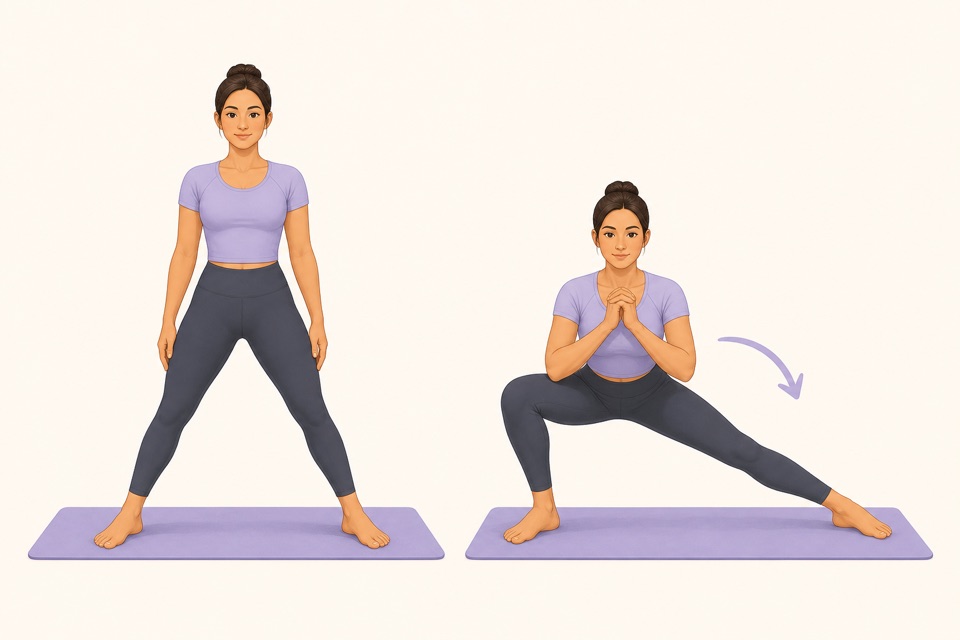
- Use step-back lunges: Step one foot back, lower a few inches, then return. Keep the front knee tracking comfortably over the foot. Shorten the range if you wobble.
- Explore rotation: Sit on a bench and move one knee gently inward and outward, or use a small standing hip rotation while holding support. The hip internal rotation guide offers easier options for that direction.
- Add calf raises: Rise slowly onto the balls of your feet and lower with control. This is preparation, not a burn-out set.
- Reassess: Walk for one minute. Continue if your stride feels normal or easier; do not chase a dramatic change.
How should the routine change for climbs and descents?
For a climb, emphasize marching and shallow lunges because the trail will ask for repeated hip flexion and extension. For a descent, emphasize balance and controlled lowering because each step asks you to manage momentum. The warm-up should preview the trail, not reproduce its hardest section.
- Steep uphill: add six low step-ups per side on a stable step.
- Long downhill: add four slow supported step-downs per side.
- Heavy daypack: start with five minutes of flat walking after putting the pack on.
- Uneven trail: keep a hand near support and use smaller knee circles.
- Cold trailhead: spend longer walking instead of stretching harder.
The National Park Service recommends planning for the route, conditions, footwear, water, and your own limits. Mobility is one small part of preparation; it does not replace a sensible route choice or adequate gear.
Why do hips feel tight while hiking?
Hips may feel tight because hiking repeats high steps, long strides, and single-leg loading, while travel to the trailhead may involve prolonged sitting. Distance, elevation, pace, pack weight, recent training, and previous injury can all affect the sensation. Tightness alone does not prove that one muscle is short.
Use the pattern as a decision guide:
- Mostly during climbs: shorten your step and reduce pace before adding more stretching.
- Mostly during descents: use trekking poles if appropriate and focus on controlled steps.
- Mostly after the drive home: try hip stretches before bed later rather than forcing a trailhead stretch.
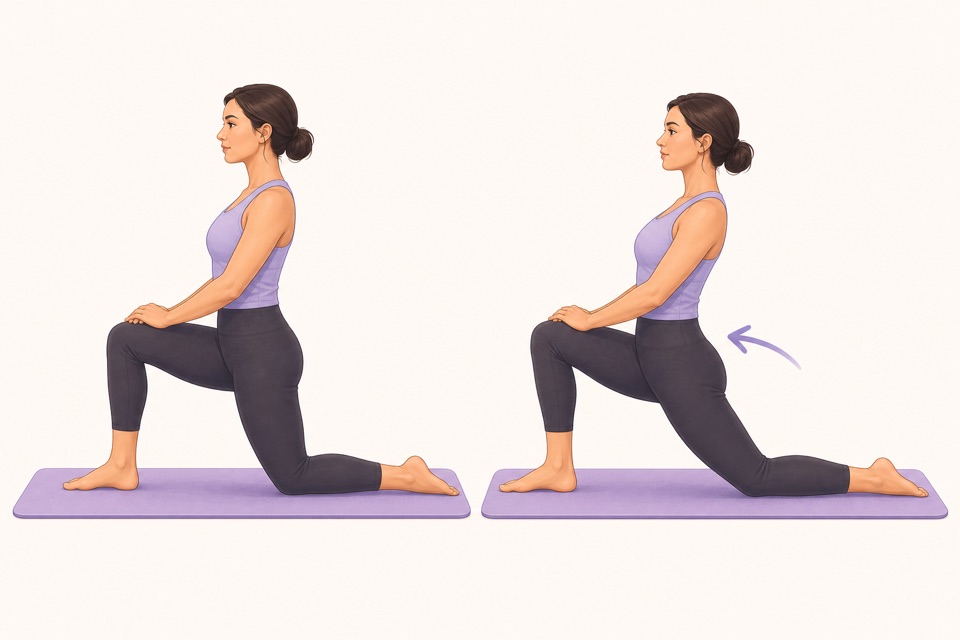
- Mostly at the front of the hip: use the hip flexor stretch guide with a small range.
- Persistent, worsening, or one-sided: stop experimenting and seek qualified guidance.
When should hikers stop hip mobility work?
Stop if a movement causes sharp or worsening pain, numbness, tingling, weakness, catching, locking, giving way, or pain that changes your walking. Seek qualified care after a fall, with significant swelling or loss of motion, or when symptoms persist.
Turn around or choose an easier route if your gait changes, balance becomes unreliable, weather worsens, or fatigue makes foot placement careless. If you have had hip surgery, have a diagnosed condition, or are returning after injury, follow your clinician's plan rather than a general online routine.
How can Wiggle make hiking mobility easier to repeat?
Wiggle gives you a timer, side changes, and a clear finish so your warm-up does not become ten minutes of searching beside the trailhead. Save one seven-minute pre-hike routine and one calmer post-hike option, then choose based on the moment.
Start with the routine above on an easy local walk. If it feels useful, download Wiggle and save it for your next trail day instead of rebuilding it from memory.
Sources
Why we keep it gentle
These guides are written for everyday stiffness and habit-building. They are grounded in mainstream guidance on flexibility, movement, and when to seek medical help.
- Stretching: Focus on flexibilityMayo Clinic
- Physical Activity Guidelines for AmericansU.S. Department of Health and Human Services
- Hiking SafetyNational Park Service
FAQ
Questions people ask
What hip mobility exercises are best for hikers?
Useful hip mobility exercises for hikers include easy walking, supported knee circles, controlled step-back lunges, seated hip rotations, and calf raises. Together they prepare the hips for stepping up, controlling descents, and moving over uneven ground without turning the warm-up into a workout.
Should hikers stretch before or after a hike?
Before hiking, favor a short dynamic warm-up such as walking, marching, knee circles, and shallow lunges. After the hike, walk until your breathing settles, then use gentle holds if they feel comfortable. Avoid forcing long, deep stretches when your muscles are cold.
How long should a pre-hike hip warm-up take?
Five to seven minutes is usually enough for a practical pre-hike hip warm-up. Start with easy walking, add controlled hip movements, and finish with a few step-ups or shallow lunges that resemble the trail ahead.
Why do my hips feel tight while hiking uphill?
Uphill hiking asks for repeated hip flexion and extension, especially with taller steps or a loaded pack. A sudden increase in distance, elevation, pace, or pack weight can also change how the hips feel. Tightness alone does not identify one specific cause.
When should I stop hiking hip mobility exercises?
Stop for sharp or worsening pain, numbness, tingling, weakness, catching, locking, giving way, or pain that changes your walking. Seek qualified care after a fall, with major swelling or loss of motion, or when symptoms persist.